Send Coolify notifications with Gmail
You can have Coolify (a platform for easily self-hosting web apps) send you notifications via email. Here’s how to send Coolify notifications via a Gmail account or Google Apps account.
This article is basically a Coolify-specific version of Option 2 from Google’s Send email from a printer, scanner, or app. I’m writing this down because it confused me initially.
Step 1: generate an app password
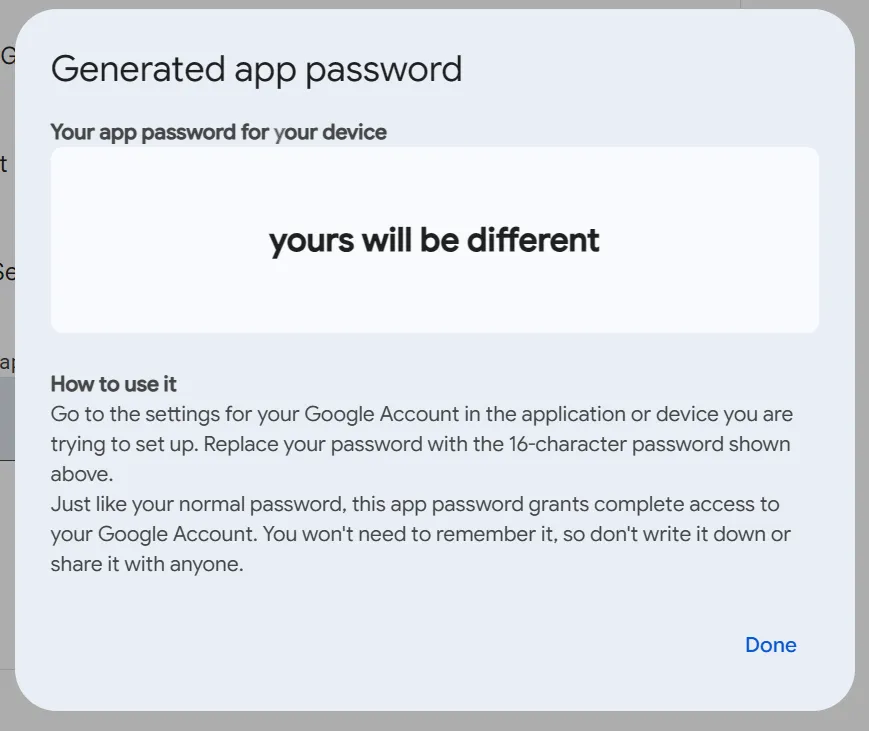
Since Gmail accounts have 2-factor auth, you’ll need to use an app password, a special new password that Coolify can use to authenticate instead:
- Log in to Create and manage your app passwords with your desired Gmail account.
- In the textbox titled App name, enter a name for your app password (for your own records). For example,
Coolify on MyServer. Then click Create. - Copy the generated password for use below. It will never be displayed again, but you can always delete it and create a new one.
Step 2: set up Coolify email
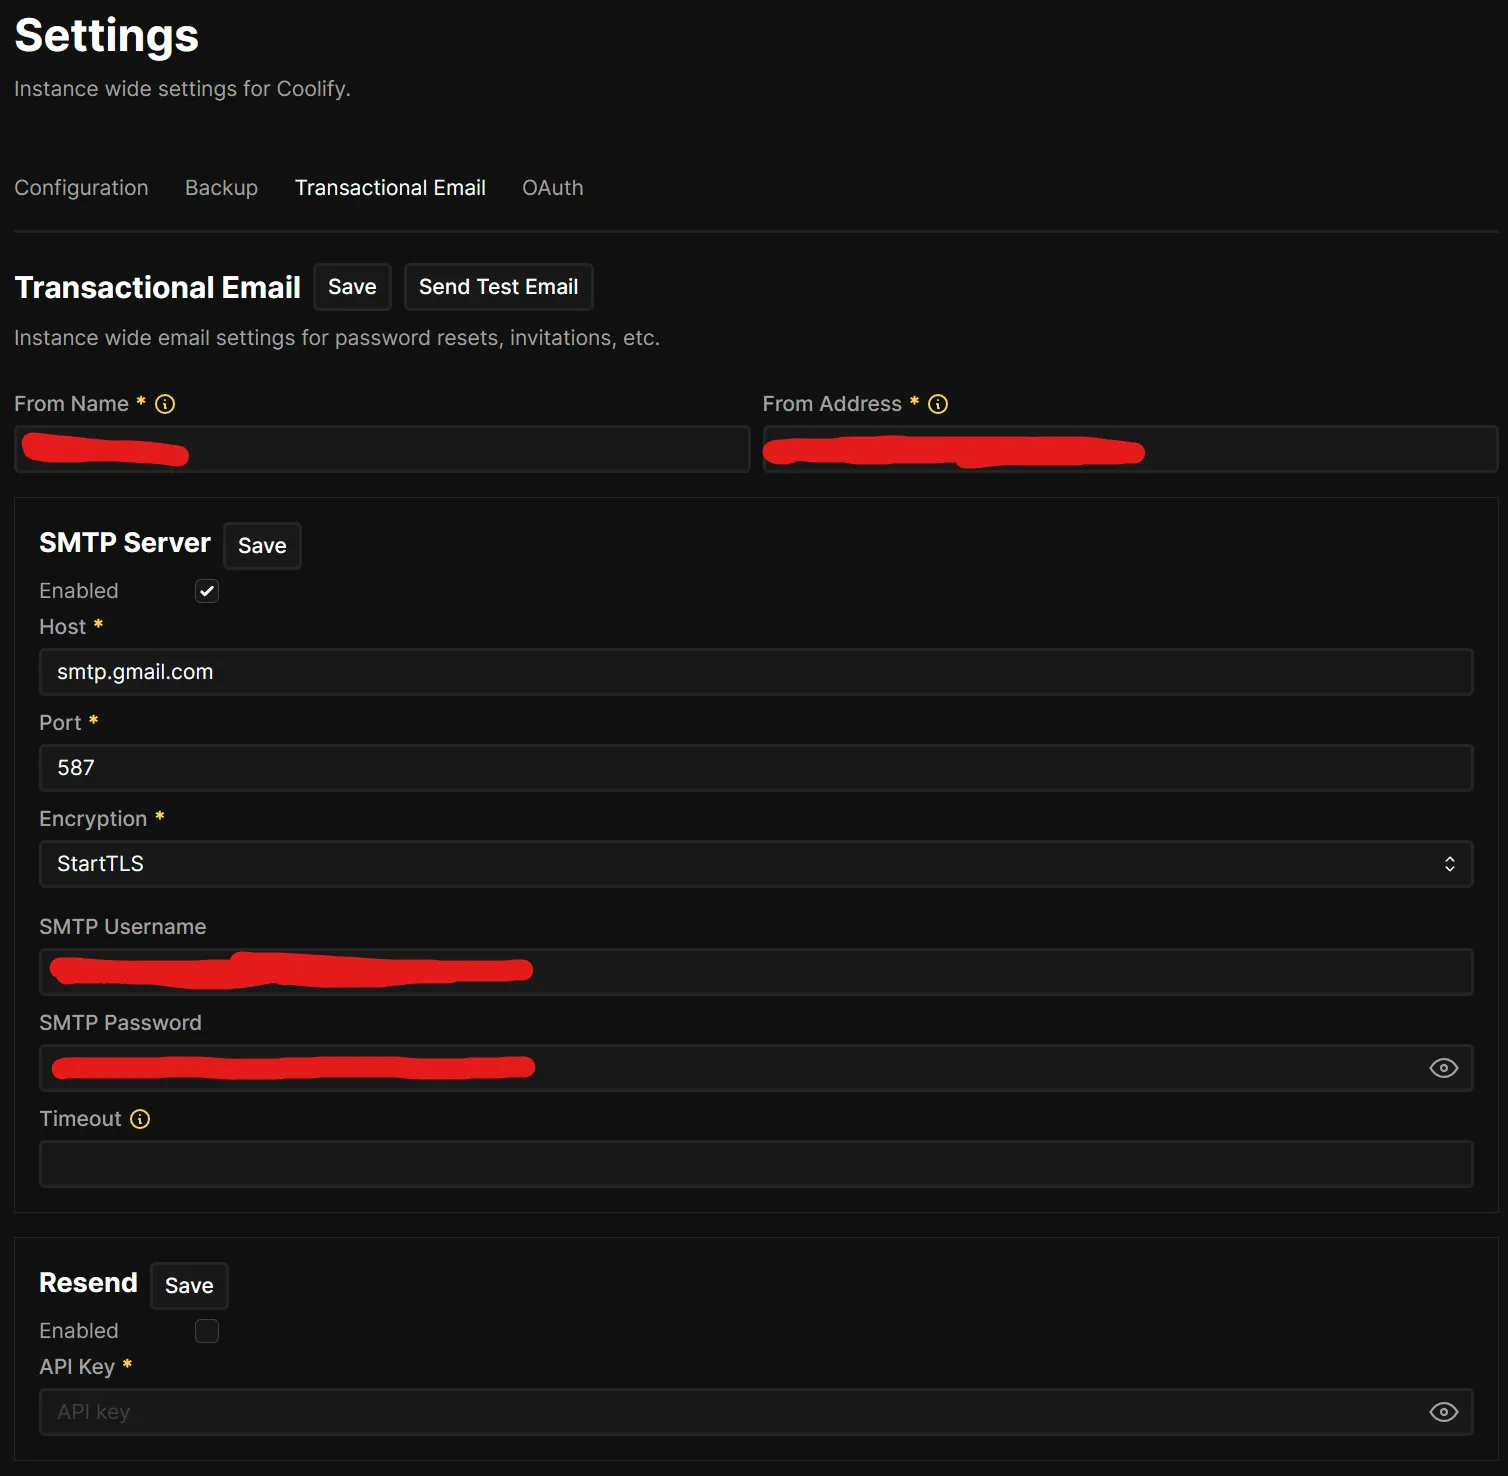
In Coolify, under Settings > Transactional Email:
- For From Name, enter whatever you like (this appears as the “friendly” name for your email address, e.g. using
Ben Stolovitzwould send emails that appear as fromBen Stolovitz <[email protected]>). - For From Address, enter your Gmail account’s email address.
- Under SMTP Server:
- Host:
smtp.gmail.com - Port:
587 - Encryption:
StartTLSworked for me - SMTP Username: your Gmail account’s email address
- SMTP Password: the app password you generated above
- Timeout: (leave blank)
- Host:
- Click Save next to SMTP Server. You can send a test email with Send Test Email.
- Click Save next to Transactional Email.
Step 3: let notifications send emails
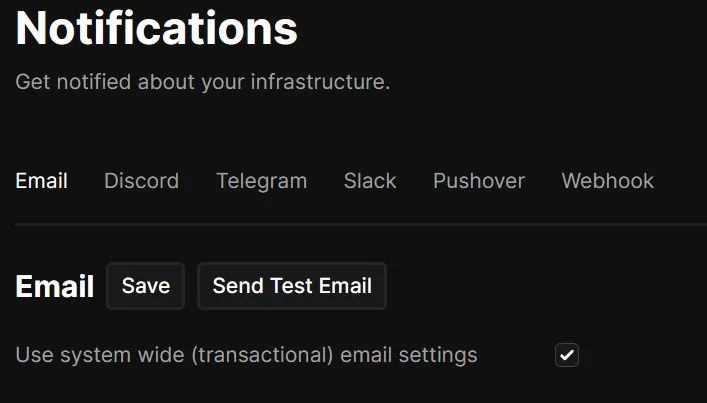
Still in Coolify, go to Notifications:
- Under Email, check Use system wide (transactional) email settings.
- Click Save. You can test with Send Test Email.
You should now receive notification emails from Coolify, via your Gmail account!